
Most dehumidifiers die of the same thing: a full tank at 3 a.m. in the worst week of the year, or a drain hose that was never pitched downhill. Learning how to set up a basement dehumidifier is mostly plumbing and placement, not shopping. The machine matters, but the install decides whether it runs at all.
I have been an HVAC tech in New Orleans for 18 years. I have pulled moldy drywall out of more Louisiana homes than I can count, and I have run portable dehumidifiers through Gulf Coast summers in my own 1920s shotgun house, where the back rooms have no central air and the door gaps are wide enough to pass a pencil through. Every unit I touch gets the same routine: a hygrometer log, a watt meter for a week, and a bucket on a scale so I know what it actually pulled.
That routine is why I keep telling homeowners the same thing. A pint rating is a lab number measured in conditions your basement will never see. Cut it by 30 to 40 percent and you get the real number. The rest of this guide is the setup that closes the gap: where to put the unit, how to get the water out without carrying it up a flight of stairs, how to set the humidistat so it stops lying to you, and how to keep the drain line clear so the machine does not flood the floor it was hired to protect.
Why you should trust me
I service and install portable dehumidifiers as part of my HVAC work, and I have watched more of them fail from bad setup than from bad compressors. The failures look the same every time. A unit jammed into a corner behind a water heater, reading 38 percent while the rest of the basement sits at 62. A hose run with a low spot that traps water until the line clogs and the tank overflows. A humidistat set to 35 percent, so the compressor short-cycles itself into an early grave.
I keep a hygrometer log on every unit I run and I do not trust the onboard display until it agrees with my meter. I run a watt meter for a full week, because energy use is a monthly bill, not a spec sheet line. And I weigh the water the unit pulls, because a bucket with a scale on it is the only honest pint measurement in a real house.
I am not going to tell you a dehumidifier will fix a wet basement. It will not. It manages air. Groundwater, a bad downspout, and a cracked floor drain are different problems, and those are for a waterproofing contractor, not for me. What I can tell you is how to set one up so it works like the box promised.
How I picked and how I tested
The two items below are not a shopping list for the biggest, fanciest setup. They are the machine and the tool that keep the machine draining, which is the pair I would hand a Gulf Coast homeowner with a damp basement and a floor drain.
My criteria are boring and they never change. First, the temperature split. Compressor units win in warm basements and fall on their face in cold ones, because the coil ices and the unit spends half its life in a defrost cycle. Desiccant units win in cold basements and cost more to run in warm ones. Most reviews skip this entirely, which is how people end up with the wrong machine for a 58 degree basement in February.
Second, the drain. A hose drain is non-negotiable below 60 percent humidity conditions, and a basement is always below 60 percent conditions. I install hose kits as often as I install units. The tank is fine for a bedroom on a short run. In a basement, the tank is the thing that fails.
Third, the controls. I check the humidistat against my hygrometer, and I check what the unit does after a power outage. I have reset more Wi-Fi modules than compressors, and I have met more than one machine that comes back from an outage in fan only, blowing damp air around a damp room while the owner thinks it is working.
For the tool, I looked for something small, oil free, and easy to drag down a stairwell with a blow gun on the end of it. That is the whole job it has to do.
What you need before you start
You can skip this section and still get the unit running. You will be back in three weeks when the drain line clogs, so read it anyway.
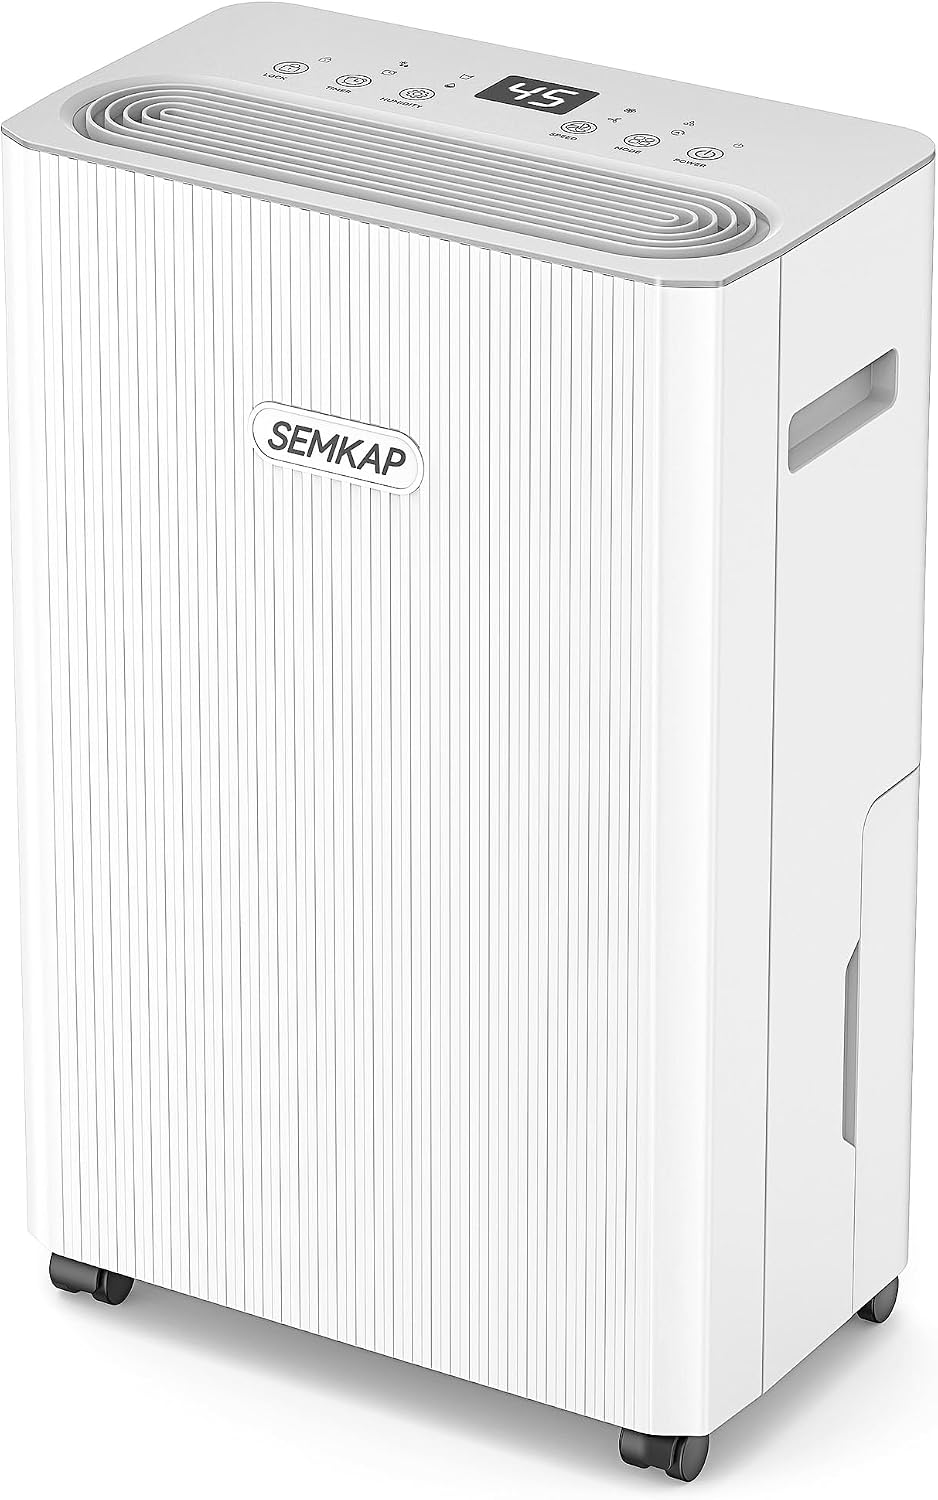
Our pick: 2500 Sq.Ft Max 32 Pints Dehumidifier for Basement with Drain Hose
 Visit on Amazon →
This is the machine I would start with for a typical basement: a compressor unit rated at 32 pints per day and 2500 square feet, and it ships with a drain hose, which is the part most people end up buying separately. Check current Amazon price on the listing, since it moves.
Now apply the derate. A 32 pint rating is measured at conditions your basement will not match, so plan on somewhere in the low 20s of actual water on a bad July week. That is still a real machine for a normal basement, and it is honest about what it is. If your space is 2,000 square feet of open, damp concrete, you are at the edge of what one unit can hold, and I would rather tell you that now than have you call me in August.
The included hose is the reason this one makes the list. It means you can set it up as a continuous drain from day one instead of running it on the tank while you wait for a kit to arrive. That is the difference between a dehumidifier that works and a dehumidifier that quits at 3 a.m.
Flaws but not dealbreakers: It is a compressor unit, so it belongs in a warm basement. If your space sits below 60 degrees for months at a time, a desiccant unit is the better tool and this one will ice up and disappoint you. The 2500 square foot number is a maximum, not a promise, and it assumes a closed space with decent air movement.
Anyone with a warm, damp basement and a floor drain within hose distance will get real work out of this one.
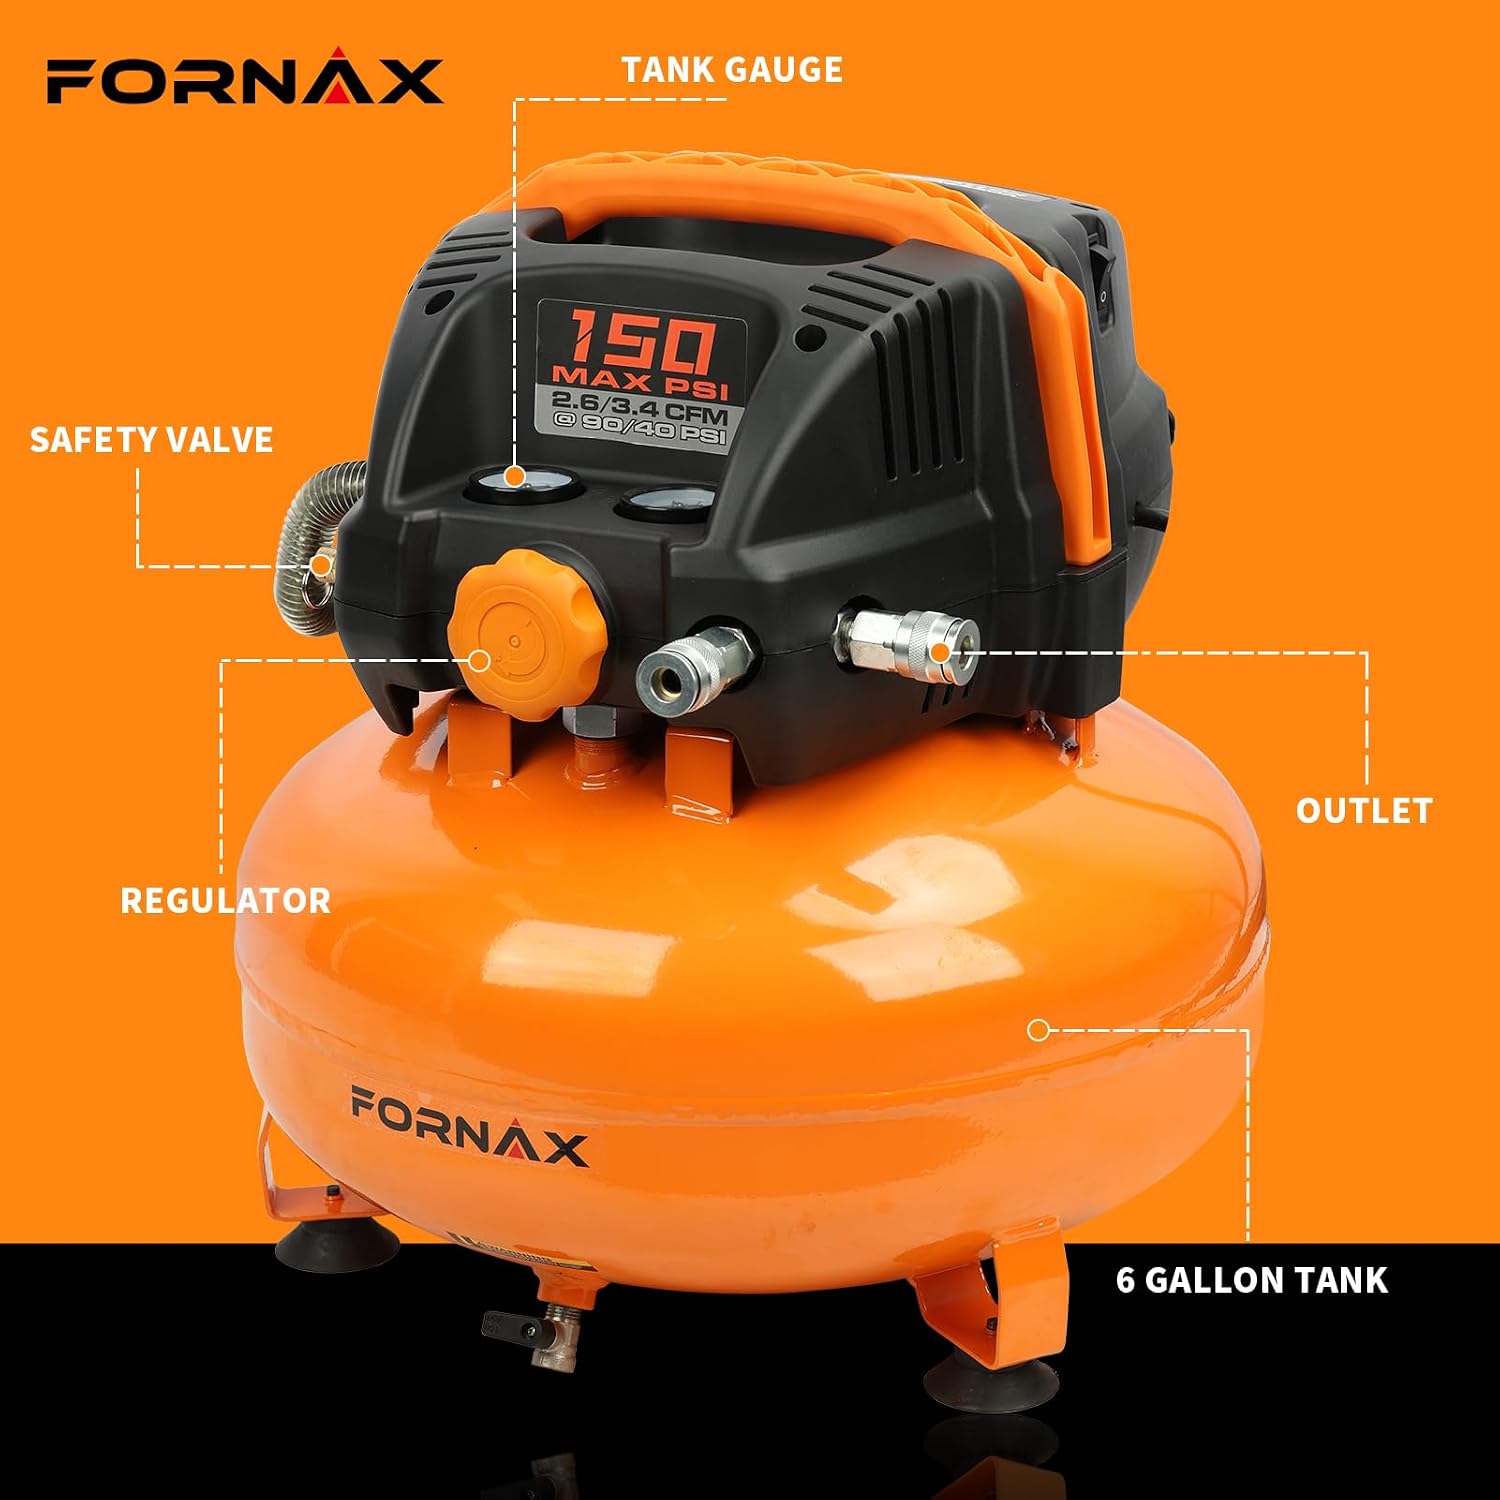
The tool that keeps the line clear: FORNAX Pancake Air Compressor with two couplers, 6 Gallon Portable Electric air compressor, 150 PSI, Oil -Free Air Compressor
 Visit on Amazon →
Here is the part nobody puts in a dehumidifier guide. The drain line is the most failure-prone piece of the whole install, and the tool that keeps it open is a small compressor with a blow gun. Check current Amazon price on the listing.
The FORNAX is a 6 gallon pancake with two couplers, 150 PSI, and an oil-free pump. Two couplers matter more than they sound, because it means you can leave a blow gun on one outlet and still run a nailer or an air chuck on the other without swapping fittings every time. Oil free matters for a basement tool, since you are not adding oil to a machine that lives in a damp space.
What I use it for on this job: blowing out the drain hose before the first season starts, clearing it again when it starts running slow, and blowing dust off the coil and the filter instead of washing grit into the fins. It also earns its keep on the rest of the house, which is why I would rather own one pancake than rent a drain-clearing tool once a year.
One caution from the trade. Do not put a blow gun two inches from the coil and pull the trigger. Coil fins bend flat, and flattened fins mean the unit cannot shed heat, which means it runs longer, pulls less water, and burns more electricity. Blow from a foot away at an angle.
Flaws but not dealbreakers: A pancake compressor is loud, and a 6 gallon tank means the pump cycles often if you are running a tool that eats air. For blowing out a hose and dusting a coil, neither matters.
Anyone maintaining a dehumidifier, a condensate line, or an HVAC drain in an old house should have one of these in the basement anyway.
The actual setup workflow
Now the part you came for. This works on any portable dehumidifier with a hose drain option. If yours does not have one, the tank is your whole setup and you should know that going in.
Step one: Pick the spot. Middle of the space, not the corner. Give it 12 to 18 inches of clearance on all sides, including the top. A unit in a corner reads the humidity of the corner, and the corner is always drier than the room. Keep it out of the path of foot traffic and out of the drip zone under a pipe or a water heater.
Step two: Level it. A dehumidifier on a sloped slab will pool water in the tank or trip the full-tank switch early. Shim it until it sits flat. This takes two minutes and saves a season of false shutoffs.
Step three: Run the hose downhill, all the way. This is the step people get wrong. The hose needs continuous fall from the unit to the drain, with no low spots and no uphill sections, even a short one. A dip in the middle of the run traps water, and trapped water grows biofilm until the line closes. Route it to a floor drain, a utility sink, or a condensate pump if you have no gravity path. Zip tie it so it cannot be kicked out of position.
Step four: Prove the line before you trust it. Pour a quart of water into the hose at the unit end and watch it come out the other end. If it sits, you have a belly in the line. Fix it now, at 2 p.m., not at 3 a.m.
Step five: Close the envelope. A dehumidifier manages the air in a closed space. An open basement window in July undoes everything the machine does, and it will run forever trying. Shut the windows, close the exterior doors, and if you have central air, set the fan to circulate so the dry air actually reaches the far corners.
Step six: Set the humidistat to 50 percent. Not 35. Fifty percent is the target for a basement, and 45 if you can smell mustiness. Setting it lower does not dry the space faster, it just short-cycles the compressor and shortens its life. Then check the number with a separate hygrometer. Humidistats are regularly off by 10 to 15 percent, and you want to know which way yours lies before you trust it.
Step seven: Decide the tank question. If you are running on the tank, know two things. The unit shuts off when the tank fills, and it may come back from a power outage in fan only. Test that. Kill the power, restore it, and see what the machine does. If it comes back blowing air with the compressor off, that is a machine that stops working every time the grid blinks.
Step eight: Maintain it on a schedule. Rinse the filter every two to four weeks in a damp basement, more often if you have pets. Vacuum the coil gently and blow it out from a distance. Flush the drain hose at the start of every cooling season and any time the unit starts pulling less water than it used to.
If you do those eight things, the machine will run itself. That is the entire goal.
The competition and why it lost
A desiccant dehumidifier is the right answer for a cold basement, and it is the wrong answer for a warm one. It heats the air it dries and it costs more per pint in a Gulf Coast summer. If your basement sits in the 50s all year, buy the desiccant unit and skip the compressor entirely. This guide is about setup, and setup does not save a machine that ices up.
A window air conditioner with a dry mode is a real option for a finished basement room, and I say that as someone who sells dehumidifiers for a living. It cools and dehumidifies at the same time, and in a room with a window it can be enough. It will not hold a whole basement, and it will not run in October when you still need the dryness and not the cold.
Whole-house HVAC dehumidification is a different job. That is an install with sizing, ductwork, and a contractor's liability, and it is outside what this article covers.
Two smaller units beat one big unit more often than people expect, especially in a basement with a finished side and a storage side that do not share air. If you cannot get airflow between two zones, you need two machines, and no single unit will fix that.
The tank-only units are not the competition. They are the same machines with the hose port unused.
What this all costs
The cost of running a dehumidifier is not the sticker. It is how many hours the compressor turns, and that number comes straight out of your setup. A unit in a corner with the windows open runs constantly. The same unit, centered, on a closed envelope, at a 50 percent setpoint, runs in cycles and pulls more water per kilowatt hour.
The recurring costs are the filter and the electricity. Filters are the quiet budget killer on this category, and I would rather you rinse a washable one every two weeks than buy a $30 cartridge every month. Electricity is a monthly bill, so if you want to know your number, put a watt meter on the unit for a week and multiply. That is how I do it for clients.
One-time costs are the hose kit, which this unit already includes, and a pancake compressor if you want to stop paying someone to clear a line you can clear yourself. Check current Amazon price on the machine and the compressor before you buy, because both move with the season.
Then do the math on the thing you already own. Twenty minutes of placement, hose pitch, and humidistat honesty is what separates a dehumidifier that holds a basement at 50 percent from the same machine that quits every night and floods the floor by the furnace.
That is the job. Set it up once, and let it run.